My Travel Europe blog – living the dream
I will certainly need to update this page further, as the pictures below are not of great quality and I am still in the process of beautification. I guess the main problem is that I ran out of money and therefore could not invest into all the toys I wanted to.
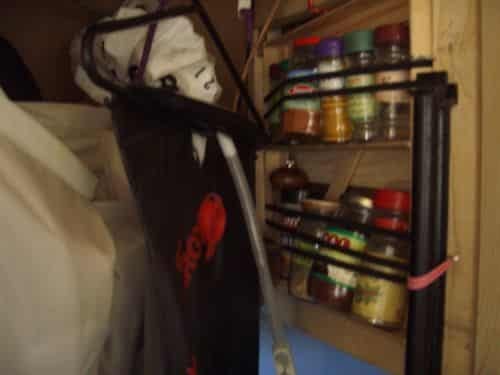
Will have to take another picture, as this one is fuzzy, but this is one of my latest additions: a removable spice rack. I basically took left over corner wood strips which I bought to cover up corners, and glued them together so that they would fit snuggly in an inset in my “stand up closet”.
When I cook, I simply remove it from its inset and have it standing next to me. I still plan to add a drop down leg hanging from the back so that it can stand on its own.
The spice containers are held into place by a thick elastic fabric you can buy at any textile shop. The kind that are used for underwear and holding up garments. Great thing to have lying around, as is electrical tape, crazy glue and bunji < chords – important caravan survival material.
I have many many plans to further develop and beautify the interior (and exterior) of the caravan.
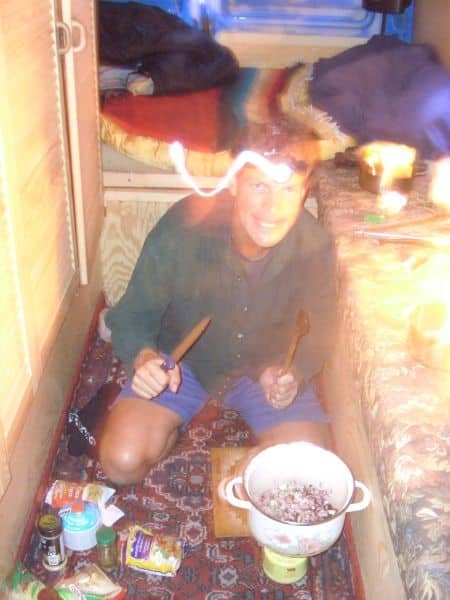
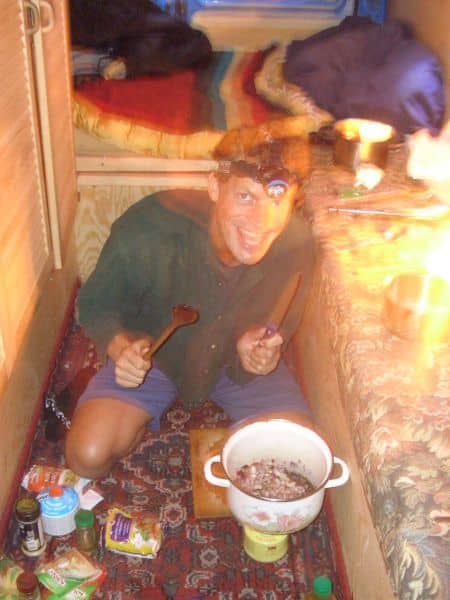
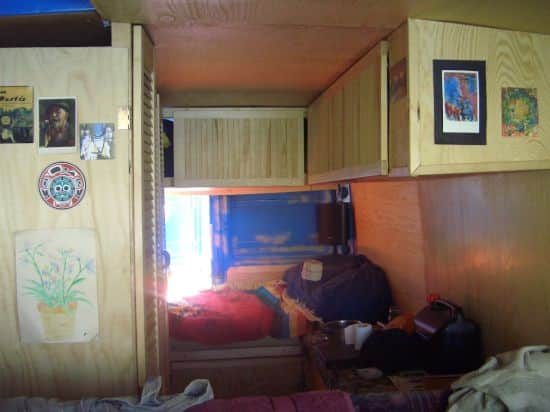
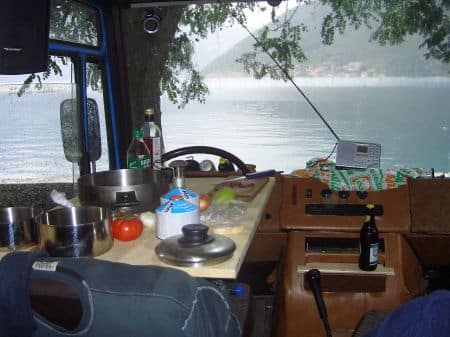
Above shows how warm and nice effect it can have to simply throw my favourite Persian carpet over the “living room area”. Here used as a temporary kitchen, in the early days before I came up with a better location (shown below).
The purchase of a fancy and strong fabric from a textile store covers up the side bed to the right. In the back, during the day, I cover my bed with the blanket I bought in Mexico. The key is warm colours that go nicely with wood.
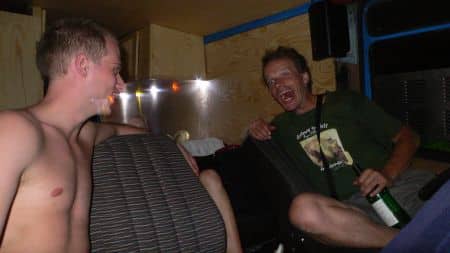
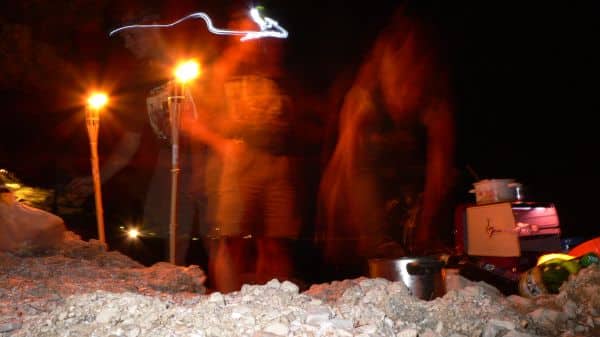
For lighting, as shown in the pictures below, when we were partying one evening in Bol Croatia, I used LED lights. The truck caravan came with an interior lightswitch – three of them hooked up on a circuit such that I could turn on the interior lighting from any one of three locations.
These would hook up to small halogen bulbs, which by now were deeply buried in one of the closets. I removed the little halogen bulbs and attached wiring to the plus and minus leads. One thing you will DEFINITELY want to have with you is an electrician’s meter. They are not very expensive, and you can ask for quick instructions at the shop where you buy it, or find it somewhere on the internet < . I mostly use it to find out the voltage output of something (such as my caravan or truck batteries – to find out if they are getting low on charge), or to find out which is the positive or negative lead of two wires. Once you find that out, you can tie a knot in the positive, or put a special tape on it to remind you.
LED lights work only in one direction, so you must make sure to attach the positive to positive etc, otherwise it wont work (you wont damage anything if you accidentally erase it, as the LED light will act as a diode < .
The advantage of LED lights is that they consume an extremely small amount of energy (much less than flourescent lightbulbs), if you have enough of them they are quite good at illuminating (do not get the cloudy kind but the normal bright kind), and you can get different coloured ones to give a nice Christmas tree effect.
When buying the bulbs, make sure to find out exactly what voltage requirement they have. If for example they have 3 volts (you can also mix different voltages and colours – just make sure the voltage adds up correctly), for a 24V circuit like I have in my big diesel truck (2 12 volt car batteries connected in series), you should have 8 bulbs on each circuit.
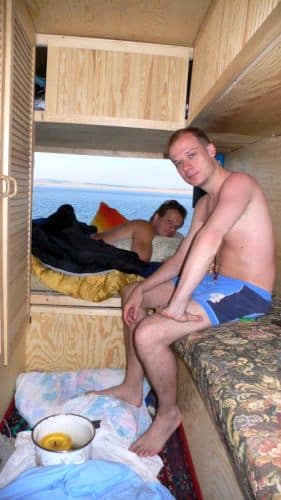
Concerning the picture above, one of the main reasons why I wanted the bed along the back doors is that, when open, it is nice to sleep by the ocean and an open sky, looking at the stars and moon.
If the number of volts added up by the bulbs is less than the voltage of your batteries, make up the difference with a resister. All these things can be bought in a half decent electrical shop, and you simply hook them up in series (again, make sure the polarity is aligned correctly) using a wire and solder < .

You should use a wire designed for LED lights, but this is not super necessary.
Note that the wire itself can impose some resistance, so your resistor might not even be necessary. It depends on the quality and length of the wire. So you may have to experiment a bit. For my 8 3V bulb example above, I would hook up 7 in a row, and then hold the last one with your hands. If the circuit does not light up, it means that the resistance is too high, so try it with 7. If it the seven remaining seem too bright, consider using a small resistor or a smaller volt bulb, because if they are too bright they will burn out much faster, and it will be a pain to replace them.
Actually, what I decided would be a better idea would be to device some socket system instead of soldering them to the wires. With a socket system, I could just stick the hard wire leads of the bulb into a socket, for easy removal and testing in case the circuit does not work (usually because one of the bulbs has burned out).
You can also try to hook it up in sort of parallel like those Christmas lights which stay lit even if one of them has burned out. But you should replace the burnt out one soon, as the remaining bulbs will be carrying a greater load and will burn out that much faster.
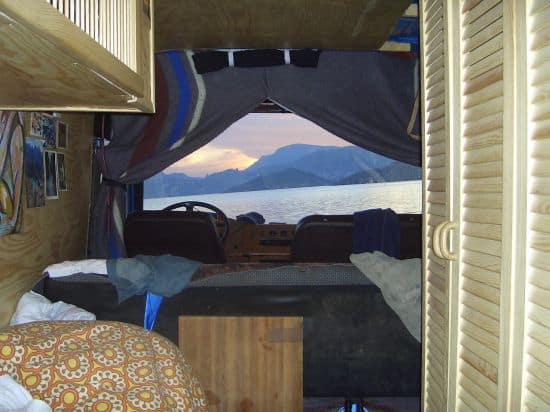
The nicest thing is to always park the caravan facing the sunrise. I often use a compass for this. The sun beams into the interior, right on my face and kindly nudges me out of my slumber at a crisp 5am in the morning (why waste valuable sunlight?), while warming up the interior like a greenhouse.
With a socket system, you can easily remove each bulb to test and replace it. I use one or two 1.5 volt batteries to test the bulbs. Just tap test and do not hold for long if the voltage is too high for the bulb.
Otherwise, when the circuit stops running because one of the bulbs has burned out, I find it a rather pain to empty out the closets, find out the burnt out bulb, and then resolder in the replacement.
Whenever working with electricity, even with a small voltage (amperes kill you more than volts do), always avoid a complete circuit through your heart, which happens when you hold plus in one hand and minus in another. The current goes from one end to the other through your heart. Because your heart beats are triggered by electrical impulses, you can expect this new “circuit” to cause major problems.
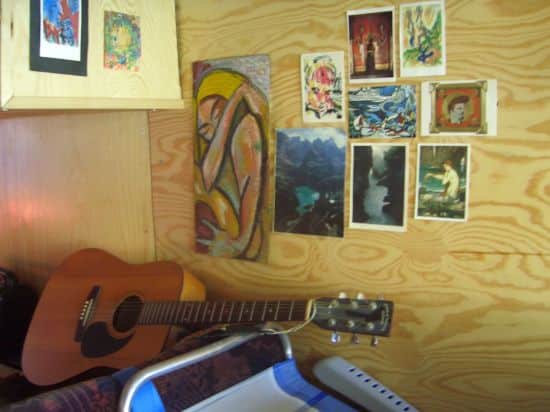
Paintings and postcards etc always make a cozy addition to your new home. They are also good at the border, as they capture the attention of border guards and usually make border crossings smoother.
Like my dad, an electrical engineer, always said: “Whenever working with electricity, always work with one hand and keep your other up your a*ss.”
In some places, I would simply drill a hole into wood, stick the wire leads of the bulb through that, and solder the ends to the electrical wires. Hook up the electricity at the very end, and make sure the wire leads of the bulbs never touch each other, otherwise you will fry something or drain the battery. Or perhaps you might have a fuse box like I do. It’s always good to have a box of extra fuses.
They are very cheap and come in very handy when something blows. If you cannot find exact match fuses, I was told that close is good enough. As long as the electricity runs through and you have some insurance in terms of a fuse – otherwise the wire might melt somewhere behind a wall, starting a fire, or you will find it very inconvenient to replace the wire.
 Here I cut a board to fit on the dashboard (good for parties and a place to put beers – will provide picture later). But I found I could use the same board and wedge it between the seat and either the steering wheel or the glove compartment. Another reason why you can let the beautification process slowly mature and develop once on the road. Ideas like this come later, and help save room.
For the rest of the lighting, candles create excellent ambience, especially with a wood interior. You can get emptied and glass pickle jars to safely place candles in that and help prevent starting a fire. You can also glue over top of it coloured onion or other thin paper, to create a nice glow. The jars you can then hang from hook in the ceiling or closets over your head. Loop the string under and around the jar. You can also use those bored out see-throughish rocks for the same purpose. Even if you forget about it and drive away, it just bounces around a bit with no great damage.
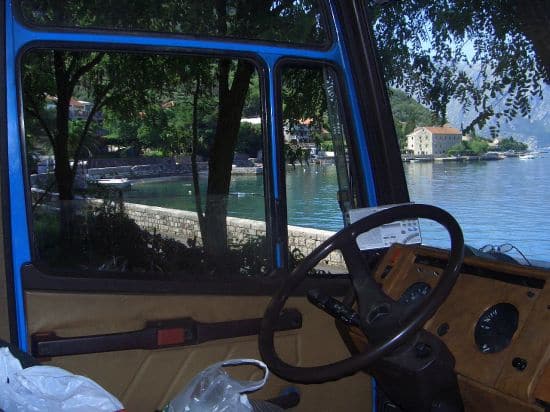
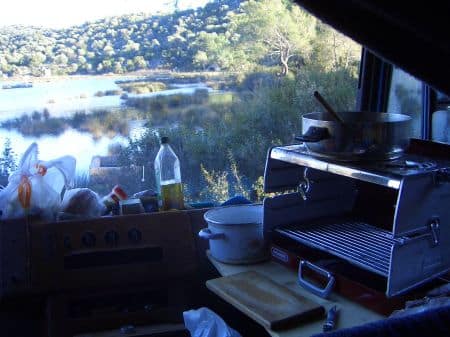
Always park somewhere with a nice view. Here in Stoliv, Montenegro.
For the kitchen, as shown in the two pictures above, I used a simple board which I wedged between either the driver’s seat and the steering wheel, or the front passenger seat and the glove box. Actually, I originally designed that board, made of nice quality wood, to fit on the dashboard. It was curved slightly on the back end to fit the contour of the front window. From underneath would pop out a leg, attached by a hinge and which would sit on the ashtray when in the opened position. When on the dashboard I would open the glove box for added stability.
The dashboard position is good when I have guests and we need somewhere to rest our beer and other stuff. Otherwise, when cooking for myself, I find the above positions more convenient. The left for when I like to stand while cooking, or the right for when sitting in my favoured driver’s seat.
When in the right position, I use the seat under the suspended board as a table for cutting and preparations.
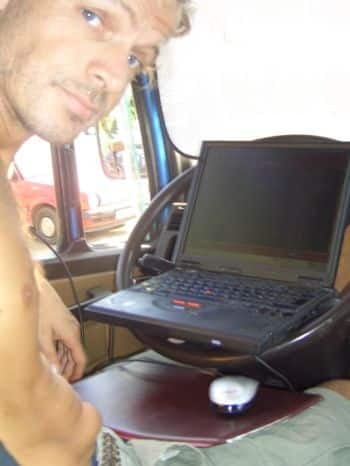
When my cooking table is in the right position, I use the steering wheel as a “dining room table”. I plan to cut a piece of wood which snuggles in perfectly. Otherwise, I just use the cutting board that I have and wedge it into place. On the cutting board I can then place the pot, from which I eat. No point getting fancy with plates and cutlery, which you will only have to wash later. Lean and mean is the key. All these things I solved while traveling. I do not think there is a great need to devise tables which pop out of the wall and only hog up more room. I’ve spent enough time downscaling and throwing out (giving to charity) all the garbage I collected over the years while living in a flat. And I rather enjoyed focusing on the lean and continue my downscaling. So I use the same piece of board for many purposes. Get creative, and pull out your saw from time to time, if need be.
To the left you can see how the steering wheel turns into an excellent workstation, with the mouse on my lap, and a beautiful ocean and mountainous view before me. Below you will see how I attached my wifi antenna to the caravan’s rear view mirror, using a mega strong clasp which is intended for hooking up strong electrical currents. Just walk around the hardware stores or outdoor markets and get creative. Because I was rushing to get on the road, I focused on the necessary basics before departing, and reserved the fine tuning and beautification once on the road.
There are hardware stores and markets all over the world, and the fine tuning and beautification should not be rushed.
Let it simmer like a fine wine, and enjoy the rest of the work at leisure. Great ideas come to mind when one is not in a rush.
However, I’d like to point out that I tend to take a half-hazard route and often fly by the seat of my pants. For example, I later realised that, for official paperwork, a popout table was actually required, and all sorts of other retarded bureaucratic details necessary for “caravan papers”. I also found out that most Czechs don’t bother and just drive and register their home-made vehicle in Russia, where it is easier to bribe. I certainly fudged my way around a million corners, which I will not incriminate myself by stating them on these pages. I had a simple dream, which I was not prepared to let evaporate due to mundane and endless European bureaucracy. But before embarking on your construction, you might want to do extensive research to avoid potential migraines later.
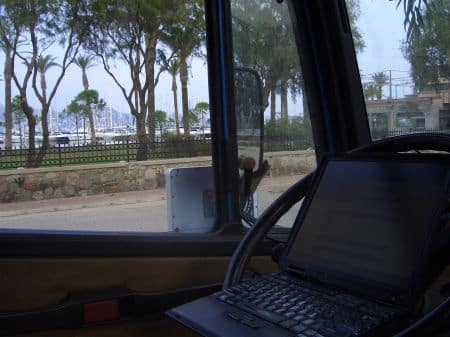
Wifi antenna attached (when needed using a strong clamp) to the side view mirror. Here pointing at the free connection at the local marina. The antenna can catch a signal up to 30km away.
Anyway, I don’t find popout tables and a lot of such creature comforts that useful because the purpose of a caravan is to be in the outdoors, and meet locals while travelling. Not to be cooped inside behind a TV, or playing endless card games with the same people.
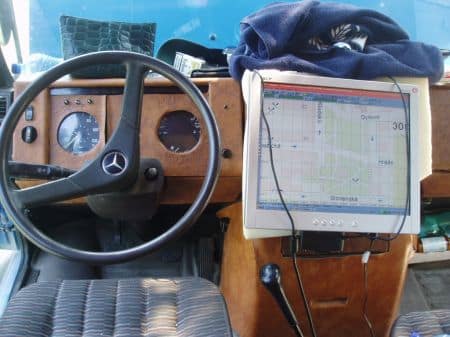
Speaking of luxury and creature comforts, my vision included this massive GPS monitor.
It included an antenna which stuck like a magnet outside on the roof, hooked up to a GPS mini device which hooked up to my computer through a blue tooth connection.
Why deal with interior popout tables when you can set up your kitchen and dining room outside, next to the ocean? Here with a cheap lantern fluid light perched on a bamboo pole <take detailed picture and make “essential caravan supplies page>.
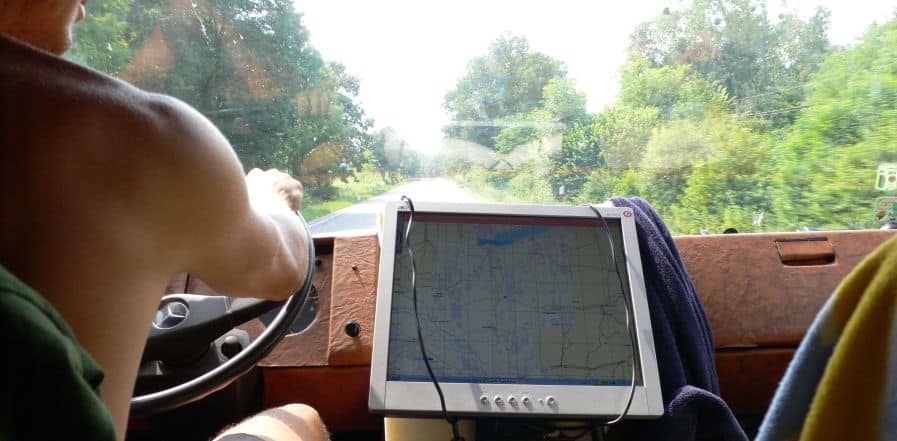
I used GPS Trackmaker because you it was free and you could easily make your own maps. I could buy local paper maps, take a picture of them with my digital camera set on macro zoom, triangulate the map, and have my big 19 inch lcd screen hung on the dashboard, connected by a 10m cable. Long like this because, if needed, I could hang it outside on the side of the truck and entertain many. With my external sound card hooked up to my computer hooked up 6 channel surround sound stereo system, I certainly had enough what concerns creature comforts.
I even have a wireless keyboard and mouse, so a passenger could control the computer and switch to the MP3 program to DJ, but I found it a pain to set up, it had to be fairly bright outside to power the lcd panel, the computer and loud stereo at the same, that I usually didn’t bother and just used a regular map and compass, stuck on the window above me. After all, why always go exactly as planned? Accidents can lead to wonderful experiences, usually I’ll just follow the coastline, or to follow a general direction is sufficient.
For the LED light circuits, you can hook each circuit up in parallel to your battery. At any point you can hook up a light switch, positioning your light switches where it makes sense, and as many circuits on each light switch as you want. Some circuits I would hook up to a certain switch which would turn on whenever the closet doors would open, to light up the cupboards or closet space inside whenever I needed to get something. But because such a fancy switch was not sold in the town when I was working on this project, I resorted to making one myself, by sawing off the tip of a plastic pen – the kind of pens which have a little spring inside.
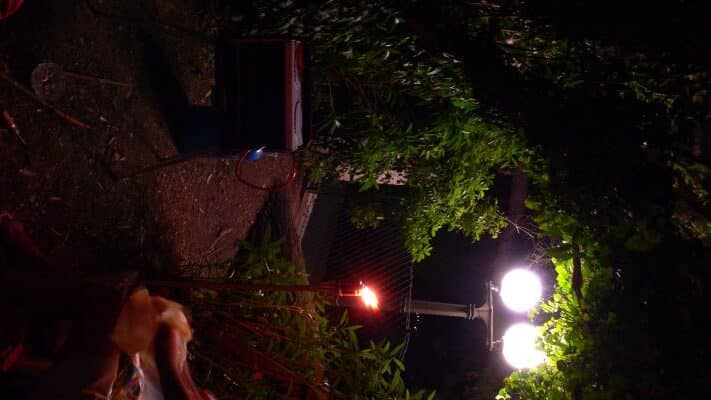
Below: setting up the kitchen and “dining room” on the rocks next to the ocean. Tonight its fish from the local market grilled on garlic and butter.
Using pliers, I then cut and bent a thick paper clip. When the closet doors opened, the spring would slide into place the paperclip such that the contact would be complete and the lights inside would turn on. Will try to provide picture later. <
For solar panel and electrical hookup, refer to the caravan electrical connections page. <
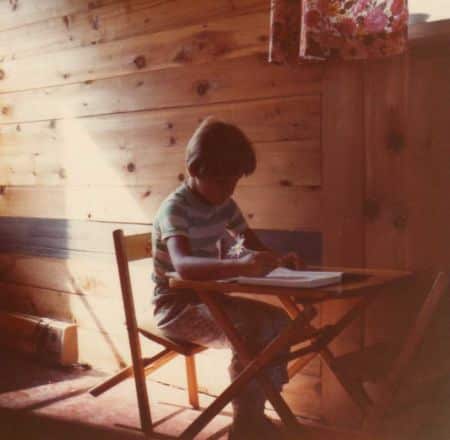
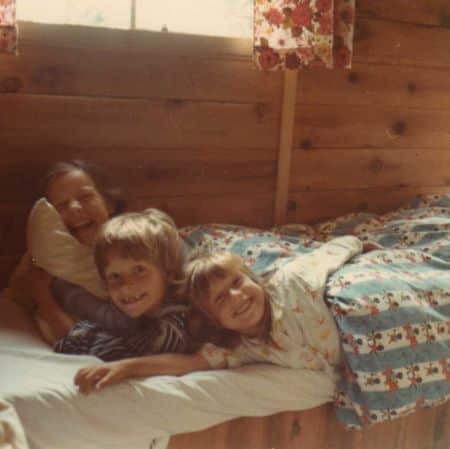
Looking at some of my childhood photos brought me back to those warm and fuzzy memories of the cottage, with the fine aroma of pine wood and the cozy feeling of comfort I felt as the sun shown through the window and warmed up everything. Perhaps this little mobile cottage on wheels is an unconscious effort to relive those pleasant days. Of course, the desire to be surrounded by chicks in my bed has somehow also persisted.
Back to My Life – The Gypsy Traveler
Back to the original caravan design stage
Back to stage two – caravan construction
(This stage is caravan beautification)
Caravan Electrical Connections
Internet Connection While Traveling
And once it’s all complete, you might be interested in caravan survival tips, before you…
hit the road!
Copyright © KENAX, by Karel Kosman – All Rights Reserved Worldwide.
Home » Travel Europe » The travel monster campervan »We are a family operation managing private custom boat tours in the beautiful Palawan area, and are happy to help travelers with their plans through the Philippines, having traveled a lot of it ourselves and planning to visit it all. These pages in this section cover my various solo travels through Europe before meeting my wife.